
with X-GOLF CUBE
X-NET
Swing freely.
Use your space smartly.
Shot coverage, room to swing, and design that fits your space. X-NET brings these three essentials of indoor golf practice together.
Plan my X-NET setupOne diagonal.
More room to swing.
A diagonal that makes room for your club.
Different frame lengths on each side create a diagonal opening, leaving room for the club to pass even when the ball is close to the net.
Angles and hitting positions shown are examples from the official guide. Follow the installation guide for actual use.
Patent registration 10-2038479Design registration 30-1070143
View official source ↗
Golf practice net patent
10-2038479
View full size ↗
Golf practice frame design
30-1070143
View full size ↗Direction. Speed. Height.
Netting and impact fabric designed for shots from different clubs. The diagonal frame leaves room for your club, while a broad hitting surface receives balls from multiple directions.
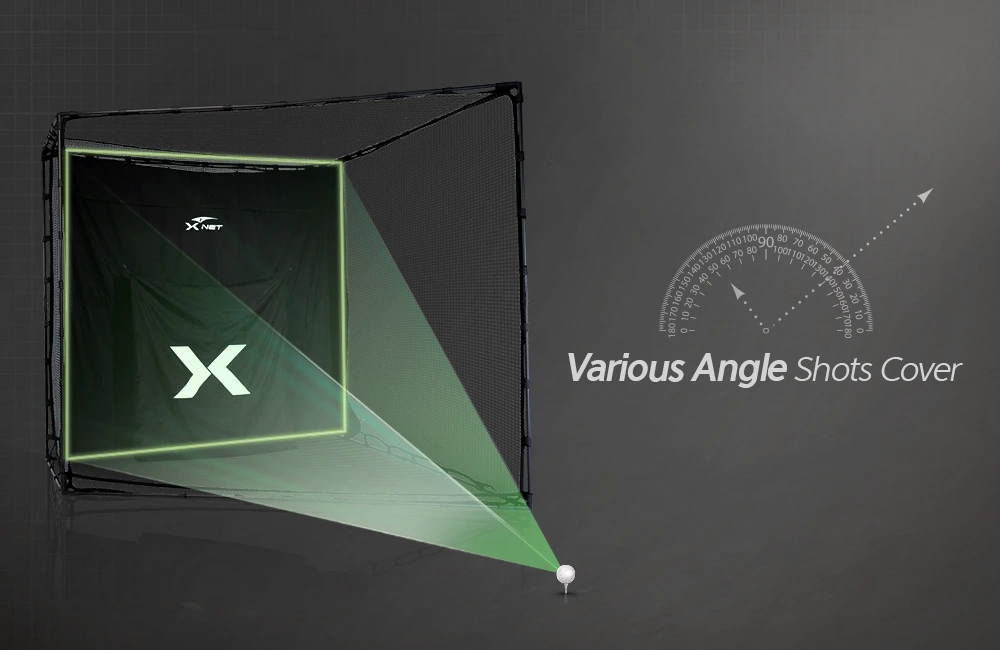
Hooks, slices and fades
A broad impact fabric and surrounding net accommodate different shot directions. Create a space for practising different clubs and shot shapes, beyond straight shots alone.
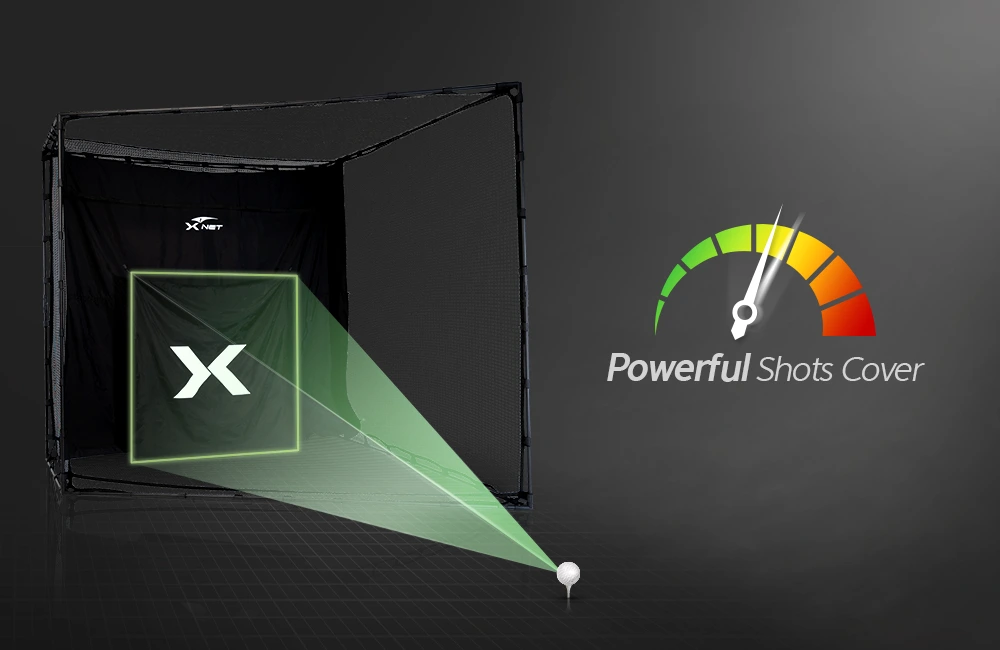
Built for powerful driver shots
The impact zone and fabric are designed with powerful shots and durability in mind. Install the net and hitting screen correctly for driver practice.
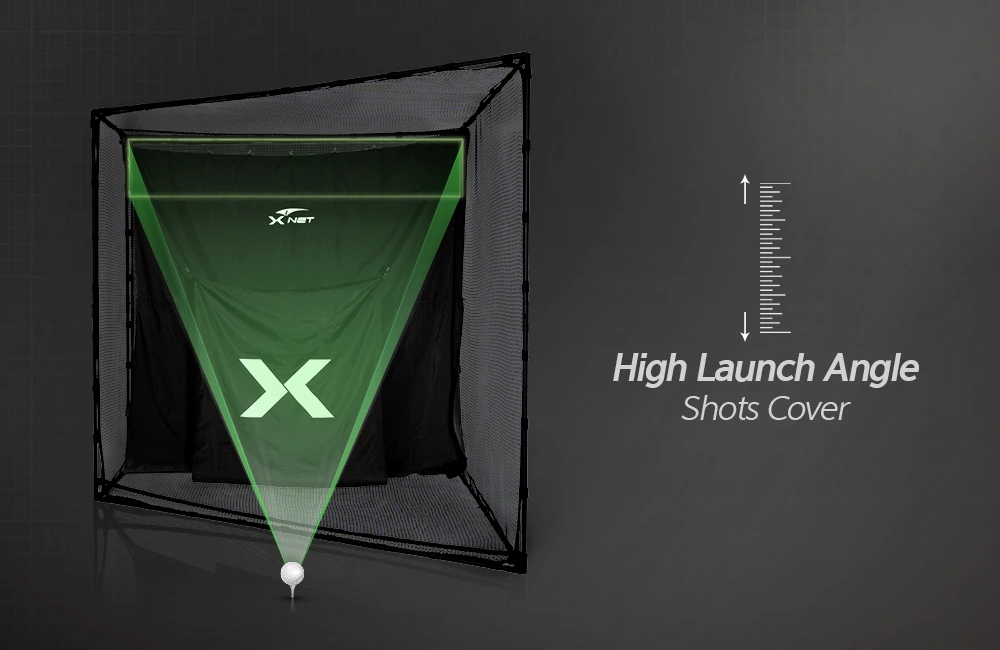
Designed for high-launch shots
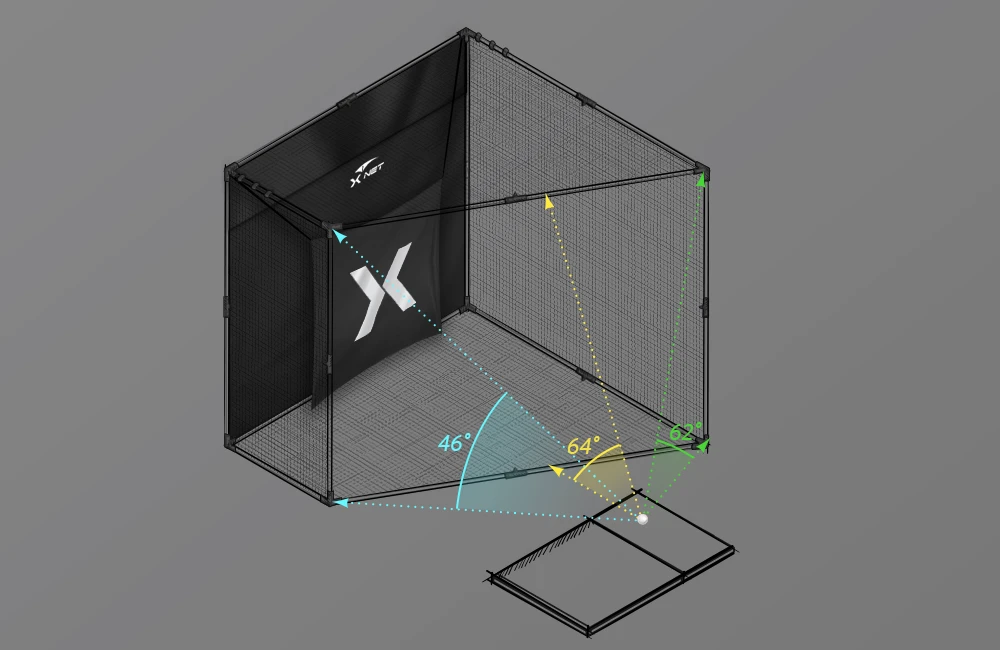
The frame and upper net are designed to receive high-launch shots. The official guide describes coverage up to 64°; follow its ball-position and installation conditions.
Closer to the net. Wider coverage.
A diagonal front opening lets you position the ball closer to the net while leaving a path for your swing. X-NET is designed to widen the receiving angle within your practice space.
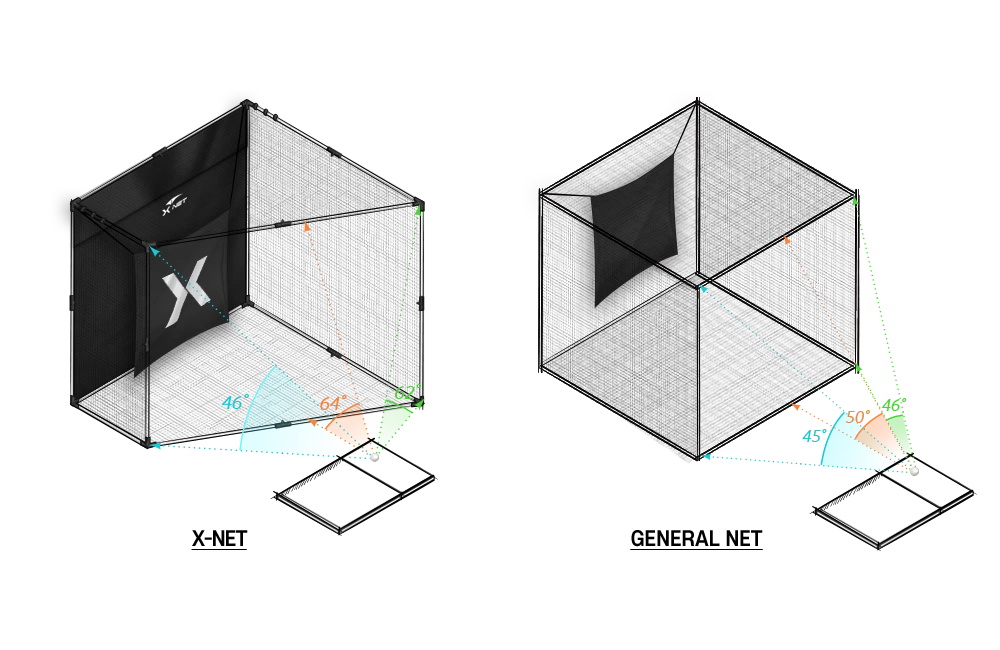
Shot coverage in perspective
Compare the relationship between ball position and the front frame. The diagram shows how the diagonal structure creates room for shot direction and club movement.
View full-size diagram ↗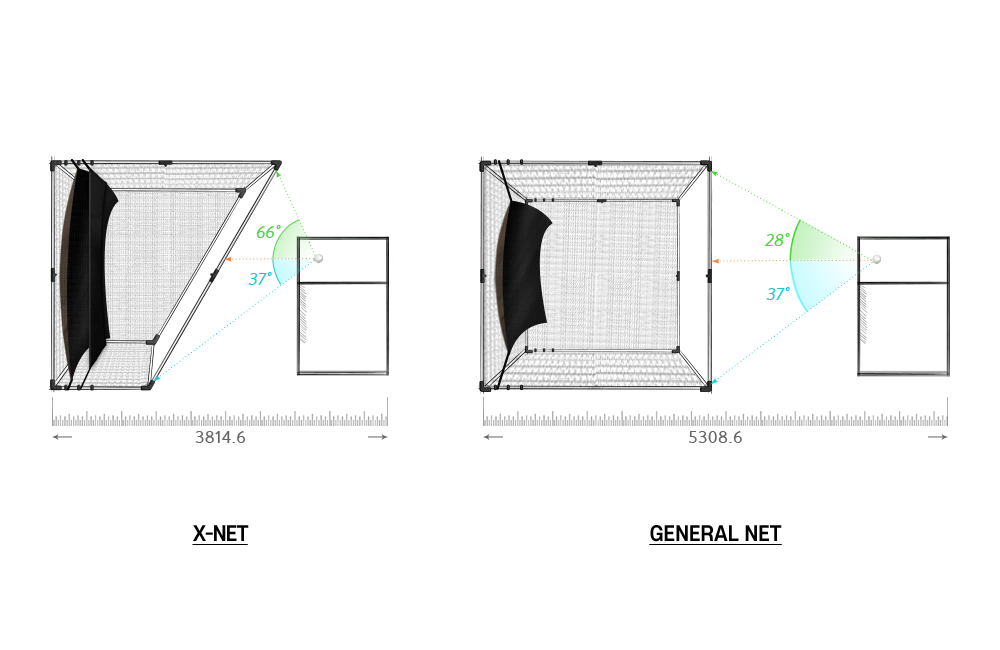
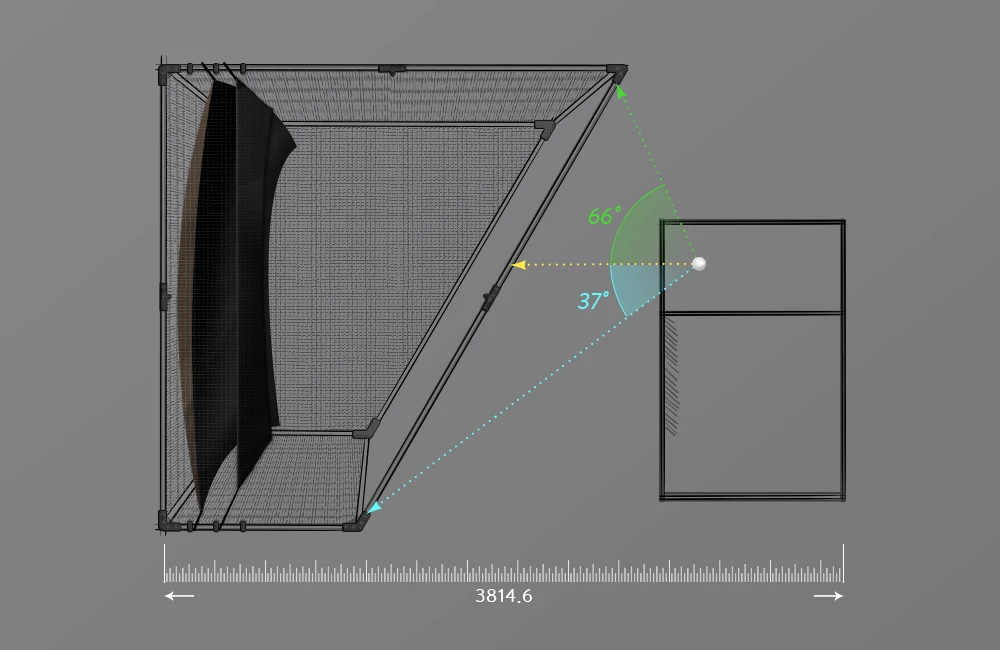
Space efficiency from above
See ball position, frame layout and horizontal shot coverage side by side. X-NET considers placement and angles together, rather than relying only on a larger net.
View full-size diagram ↗These official diagrams illustrate the design under the conditions shown. Actual space requirements depend on the player and installation environment.
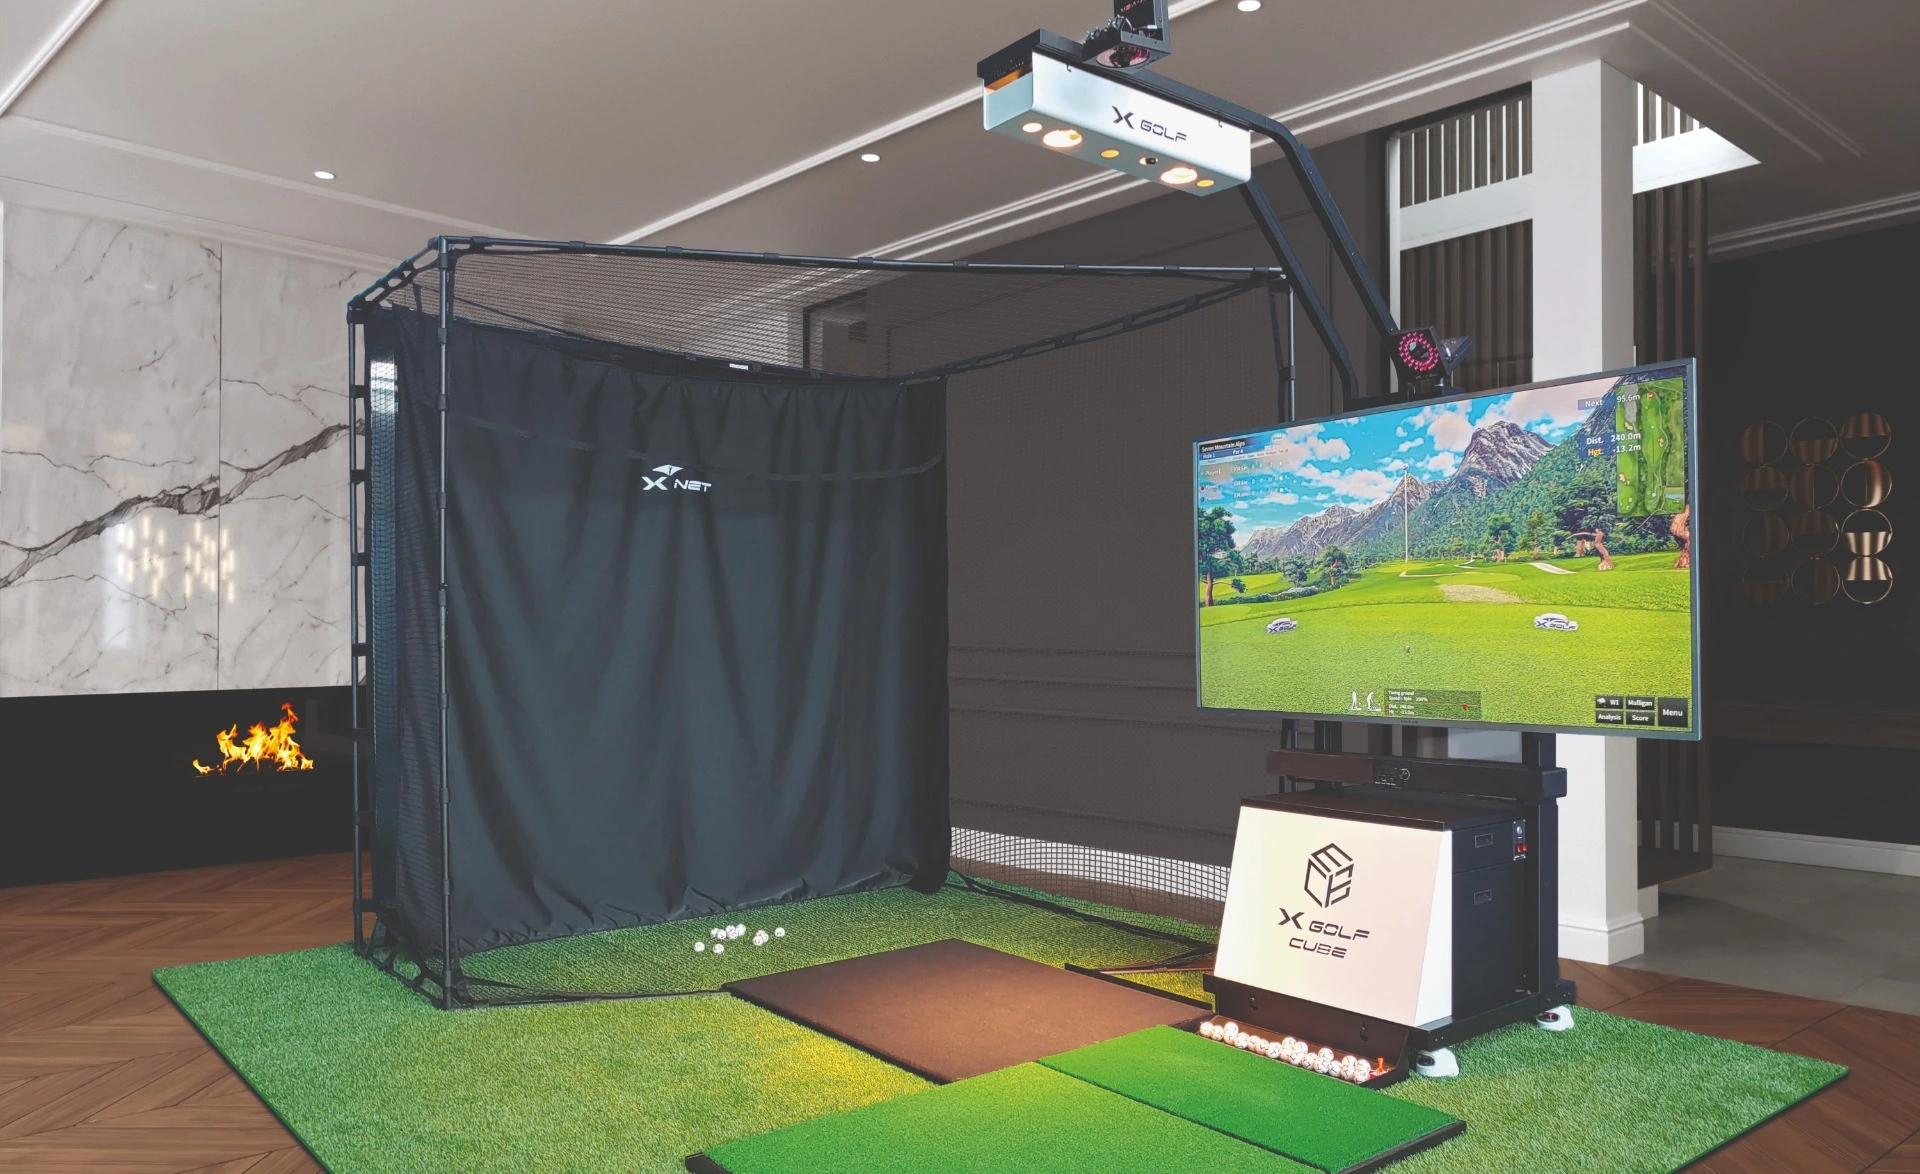
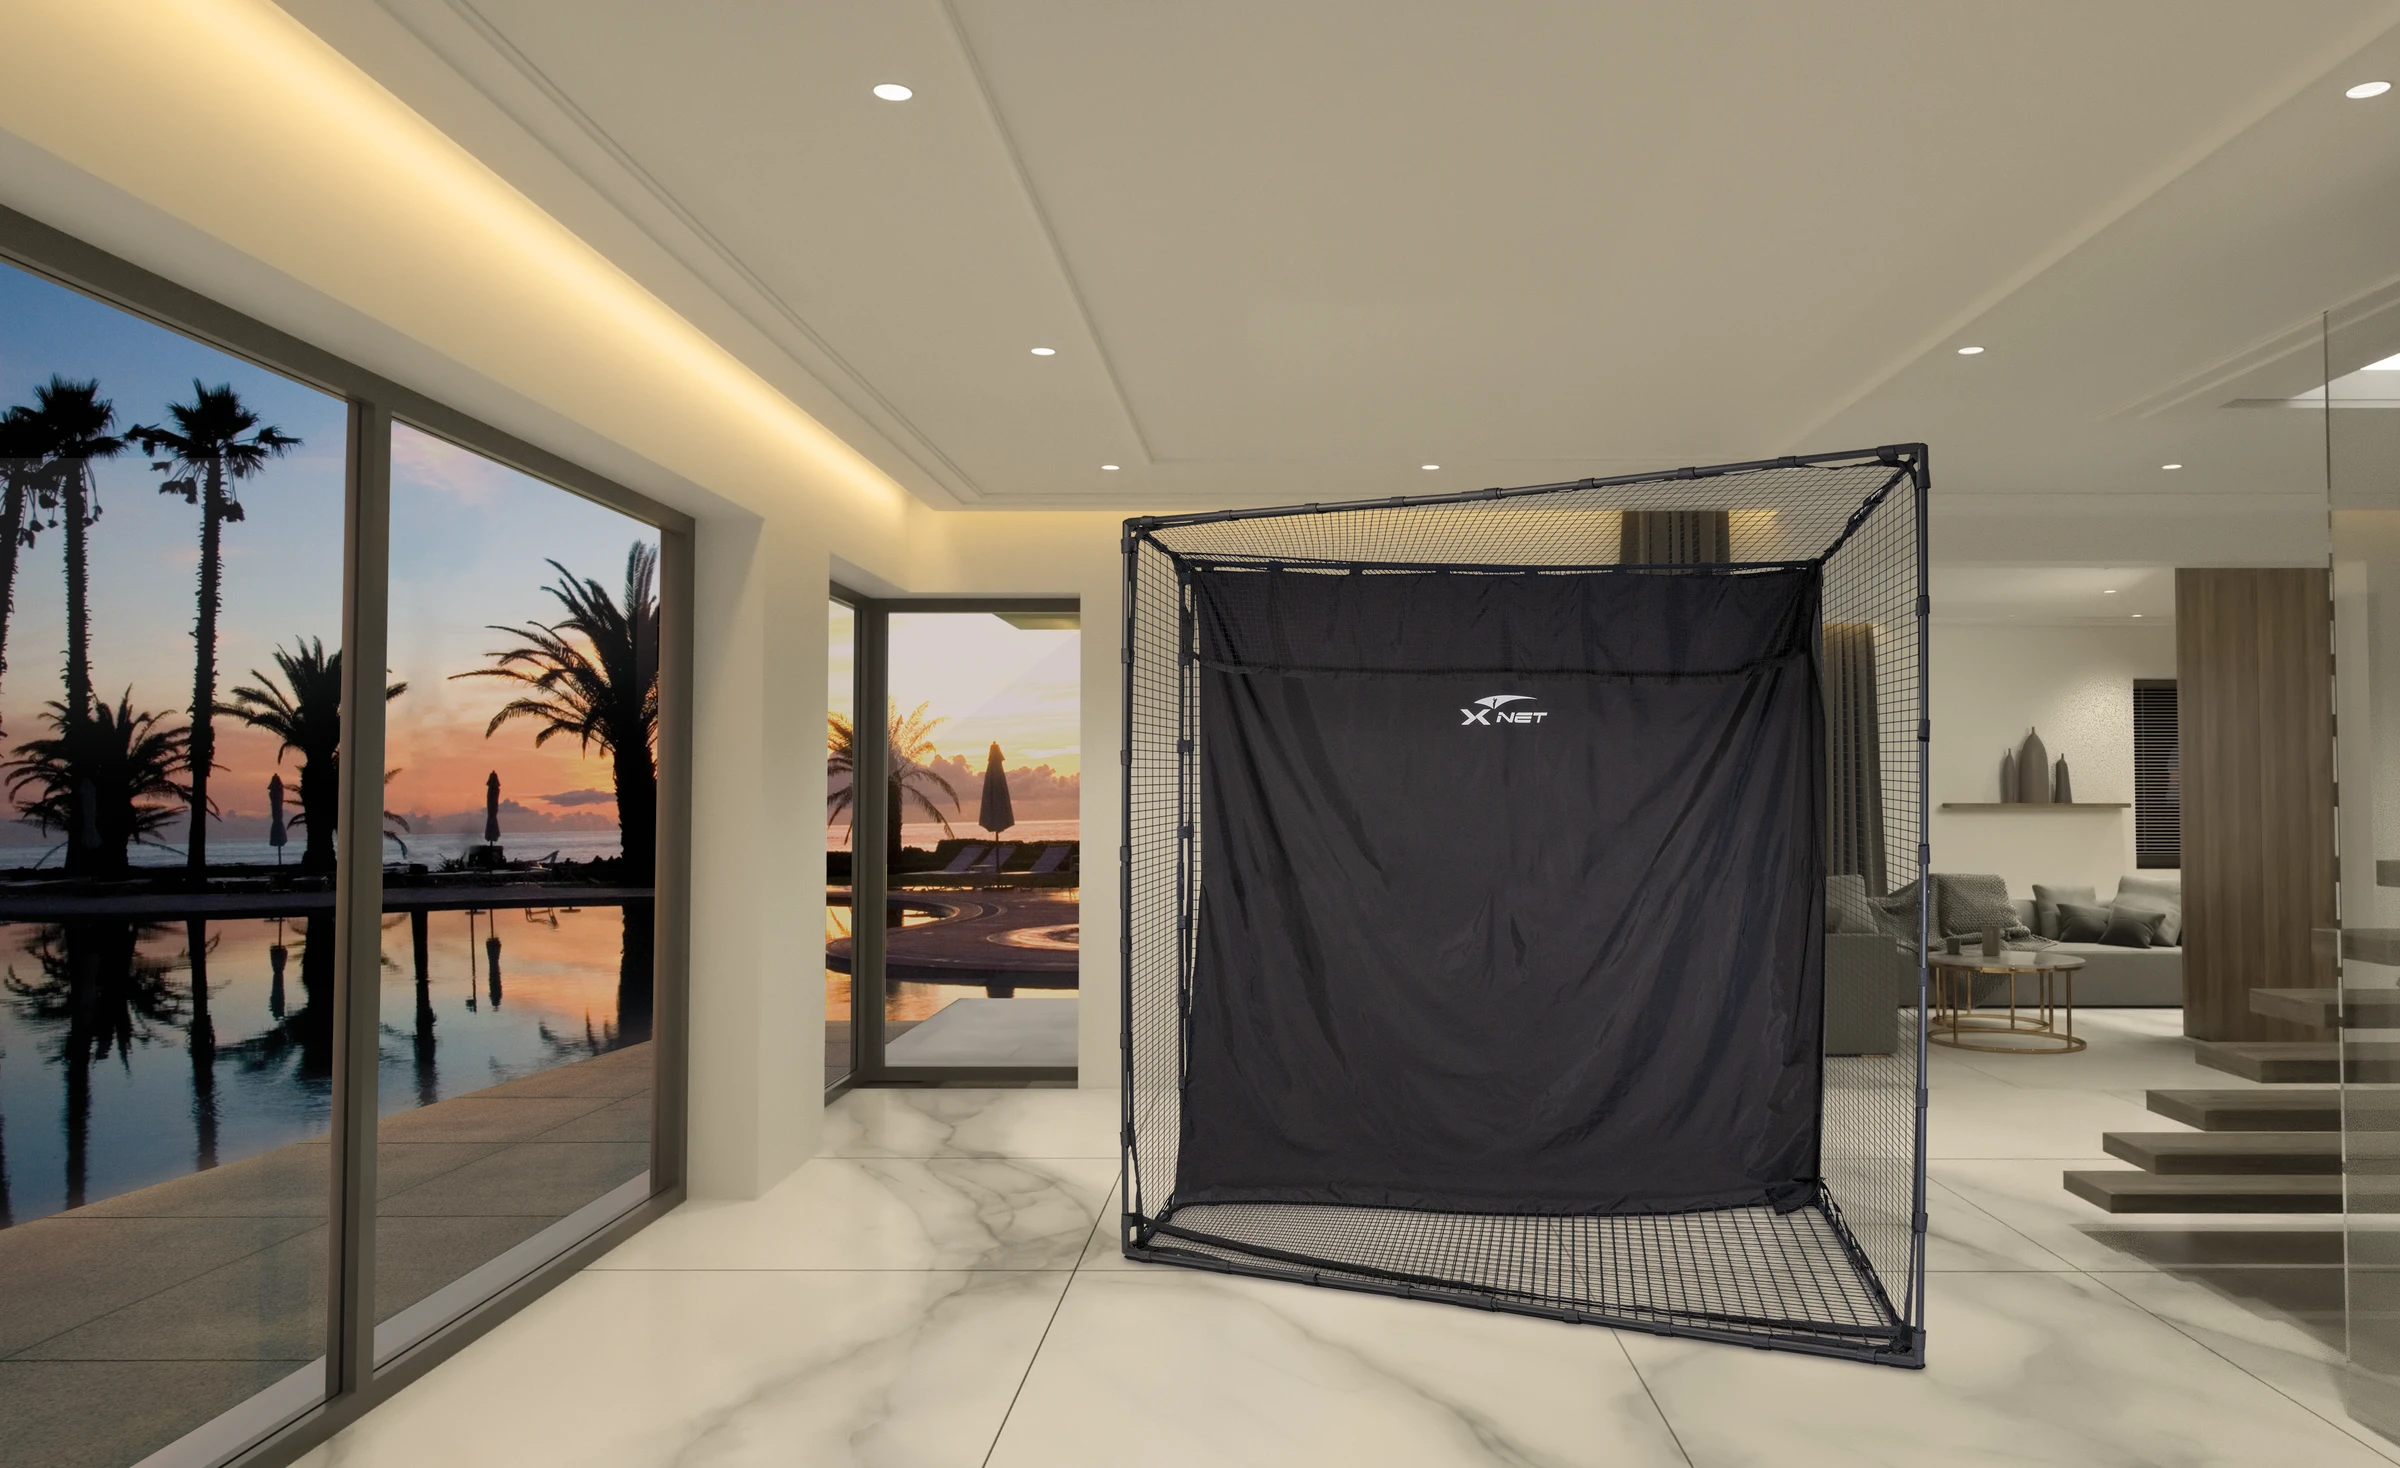
A practice space that feels like yours.
A clean frame suited to everyday interiors such as homes and offices. Plan the net, hitting area and display together to suit how the space looks and works.
Official interior visualization · Equipment shown is an example setup.with
X-GOLF CUBE
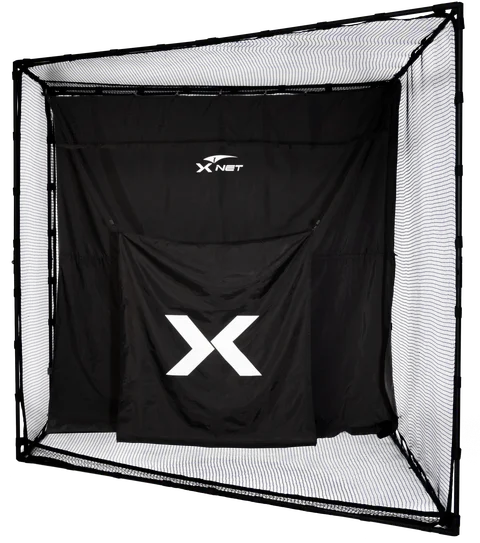
X-NET is the golf net used with X-GOLF CUBE. Its diagonal frame and impact fabric create an indoor practice space.
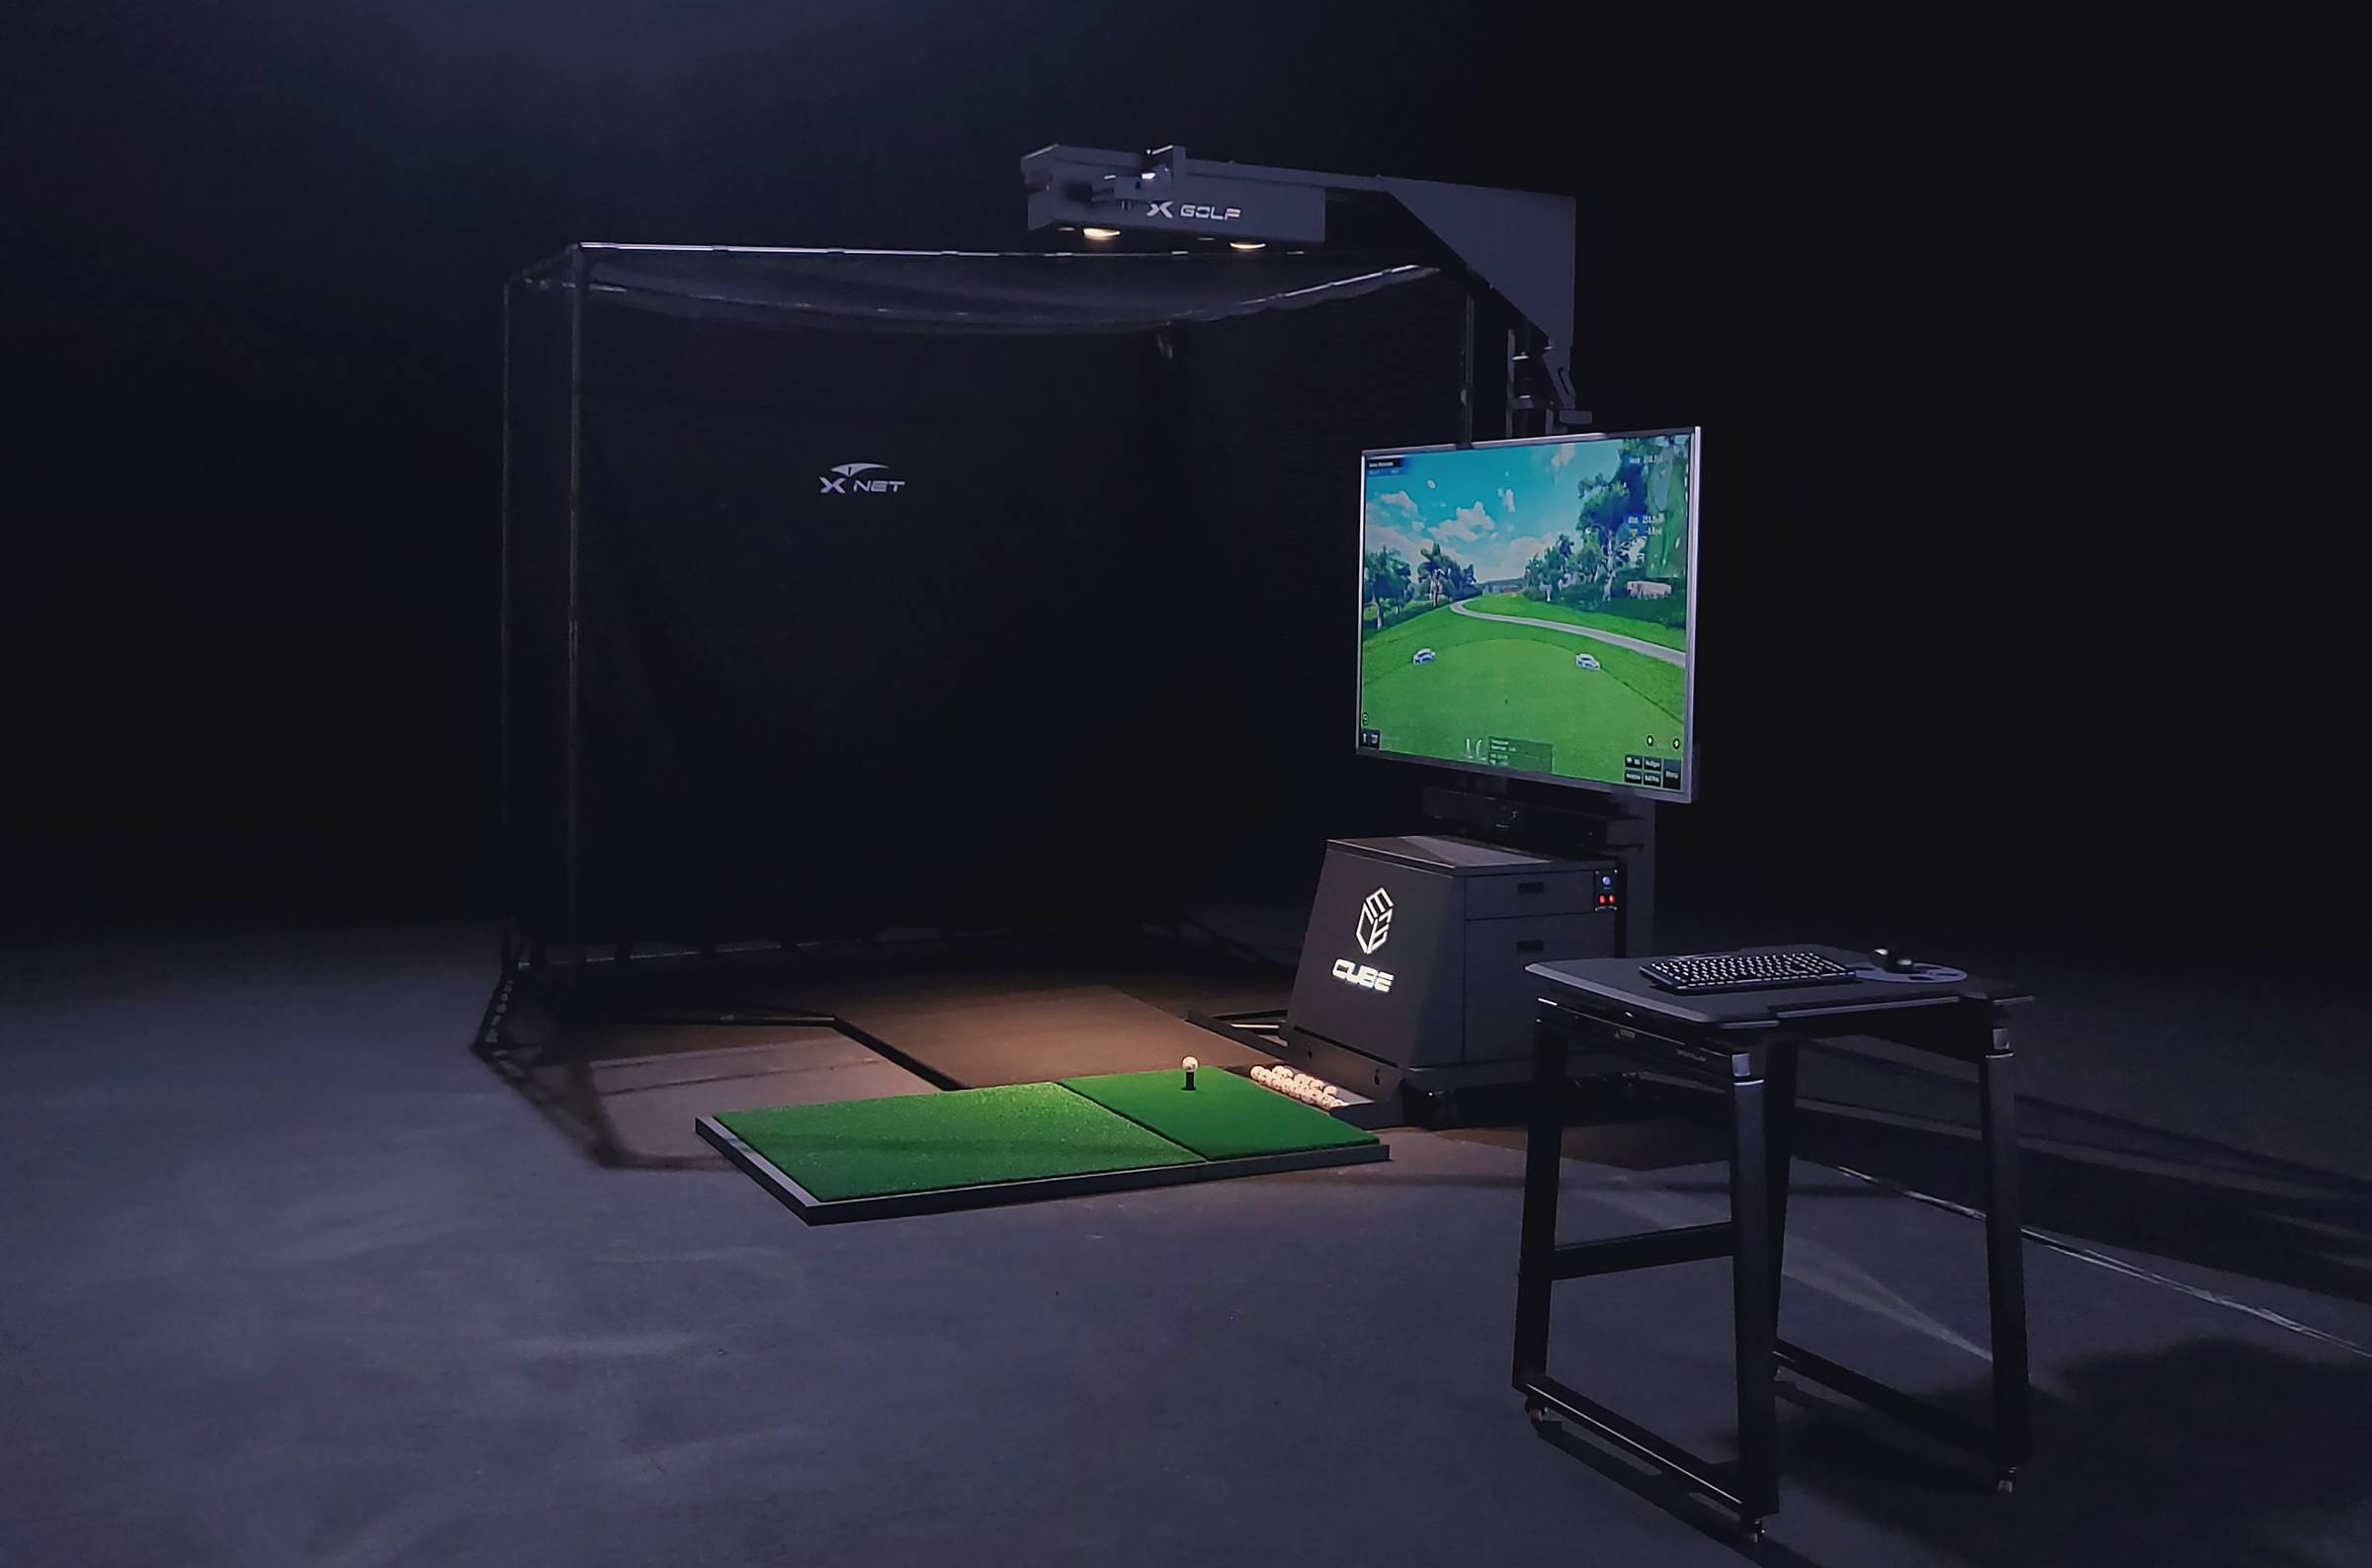
X-NET
The net that receives your shots
A diagonal frame, surrounding net and impact fabric define your practice space.
X-GOLF CUBE
The simulator that reads your game
Use it with the portable X-GOLF CUBE simulator and follow your results on the display.
X-BOOTH is a separate booth for a large-screen setup. Compare both configurations on the X-GOLF CUBE page.
Make room
for your game.
These figures describe playing space, rather than the net dimensions. Required clearance depends on the player's height, club, swing and site conditions.
- Width
- 3.7m
- Depth
- 5.2m
- Height
- 2.8m
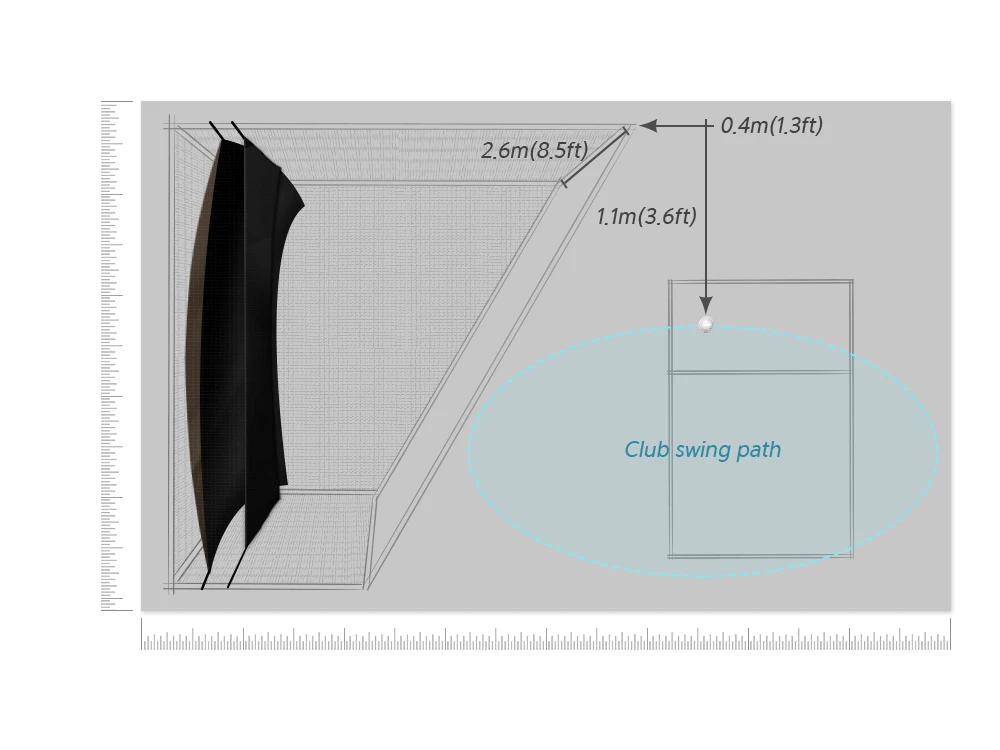
Start with the right ball position.
Locate the ball 400mm horizontally and 1,100mm vertically from the reference shown in the official plan. This is a right-handed example; check the installation guide for handedness, club and swing.
- Horizontal offset
- 400mm
- Vertical offset in plan
- 1,100mm
From ball position to the path of your club. Share your space's width, depth and height, and we can help plan your X-NET setup with X-GOLF CUBE.
Find the right setup for my space15MIN
Based on the official guide. Time may vary with site conditions.No tools.
Just a simple setup.
A modular frame joined with dedicated housings. The official guide describes assembly by 2–3 people without a ladder; solo assembly requires a ladder.
- 01
Connect the frame
Connect the frame sections using the dedicated housings.
- 02
Fit the net and fabric
Secure the surrounding net and impact fabric following the guide.
- 03
Check your space
Check ball position, swing path and clearance around the setup.
Connect with dedicated housings
Fit the frame poles into their housings for a secure connection. Watch how the joints reduce the need for separate assembly tools at each connection.
No ladder, with a team of 2–3
For installation without a ladder, 2–3 people assemble in the guide's sequence. See how the team supports and raises the frame together.
15-minute setup per the guide
Assemble the frame, net and impact fabric in order. The official guide gives a 15-minute setup time; allow enough working space and follow its instructions.
Solo installation with a ladder
The guide also covers solo installation using a ladder. Check the different preparation requirements for team assembly without a ladder and solo assembly with one.
From frame to impact fabric.
Based on the official component guide. Confirm options and the supplied configuration during consultation.
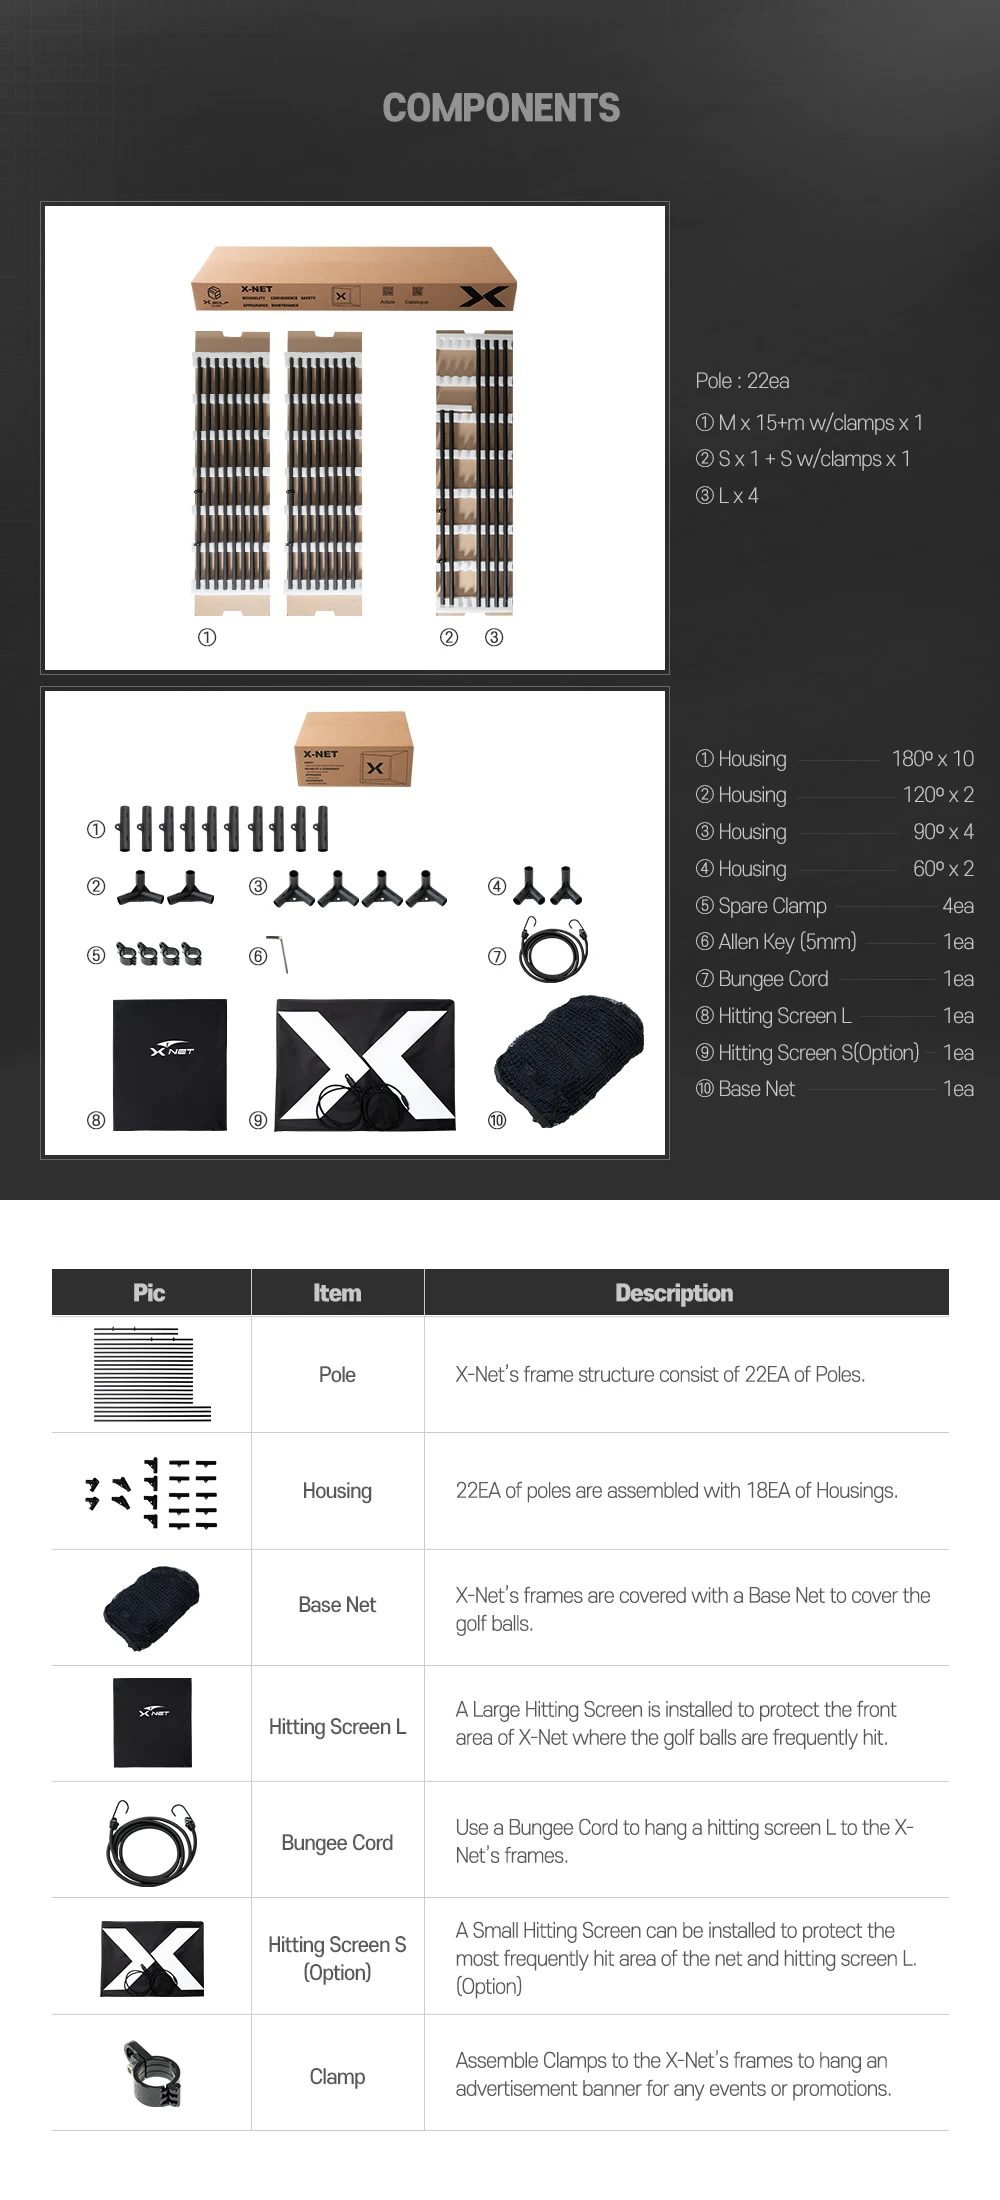
- Frame poles22
- The frame uses 15 M poles plus 1 M with clamps, 1 S plus 1 S with clamps, and 4 L poles.
- Connection housings18
- Connect the frame with ten 180°, two 120°, four 90° and two 60° housings.
- Base net1
- The main net covers the frame to receive golf balls.
- Hitting screen L1
- A large fabric screen installed at the front where shots are concentrated.
- Hitting screen S · Optional1
- An additional small screen protects the net and large screen in the most frequently hit area.
- Bungee cord1
- Suspends and secures the large hitting screen to the frame.
- Spare clamps4
- Used to attach banners and similar items to the frame.
- 5mm Allen key1
- An accessory tool included in the official component list.
Make the space your brand's own.
Use clamps to attach banners to X-NET's side frame for events, promotions and advertising. Watch the demonstration to see how they attach.
YOUR NEXT SWING STARTS HERE.